VHS was better...Hear me out.
A Modern VCR: Build Your Own NFC-Triggered Movie Cartridge Player
What if you could bring back the magic of VHS — without the rewinding, the fuzzy tracking lines, or the risk of chewing up your favourite tape?
Well, I built a cartridge-based media player that does exactly that… minus the actual tape. It's powered by ESPHome and NFC tags, so every time you pop in a cartridge, it plays your chosen movie or playlist automatically through Home Assistant. It’s tactile, nostalgic, and just plain fun.
Let’s dive into the “why,” the “how,” and — if you're keen — how you can make your own.
Why I Built a Media Player With Cartridges in 2025
If you grew up in the ‘90s, you know exactly what I’m talking about. The sound of a VHS tape slotting into place. The whirr as it loaded. The certainty of what you were about to watch.
Modern streaming is objectively better. It’s faster, cleaner, more convenient. But with all that convenience, we lost a little something — the ritual. The intentionality of picking a movie, holding it in your hands, and committing to it.

That’s what I wanted to recreate — the physicality, the nostalgia, and the sense of occasion — but without giving up the high quality and flexibility of digital playback.
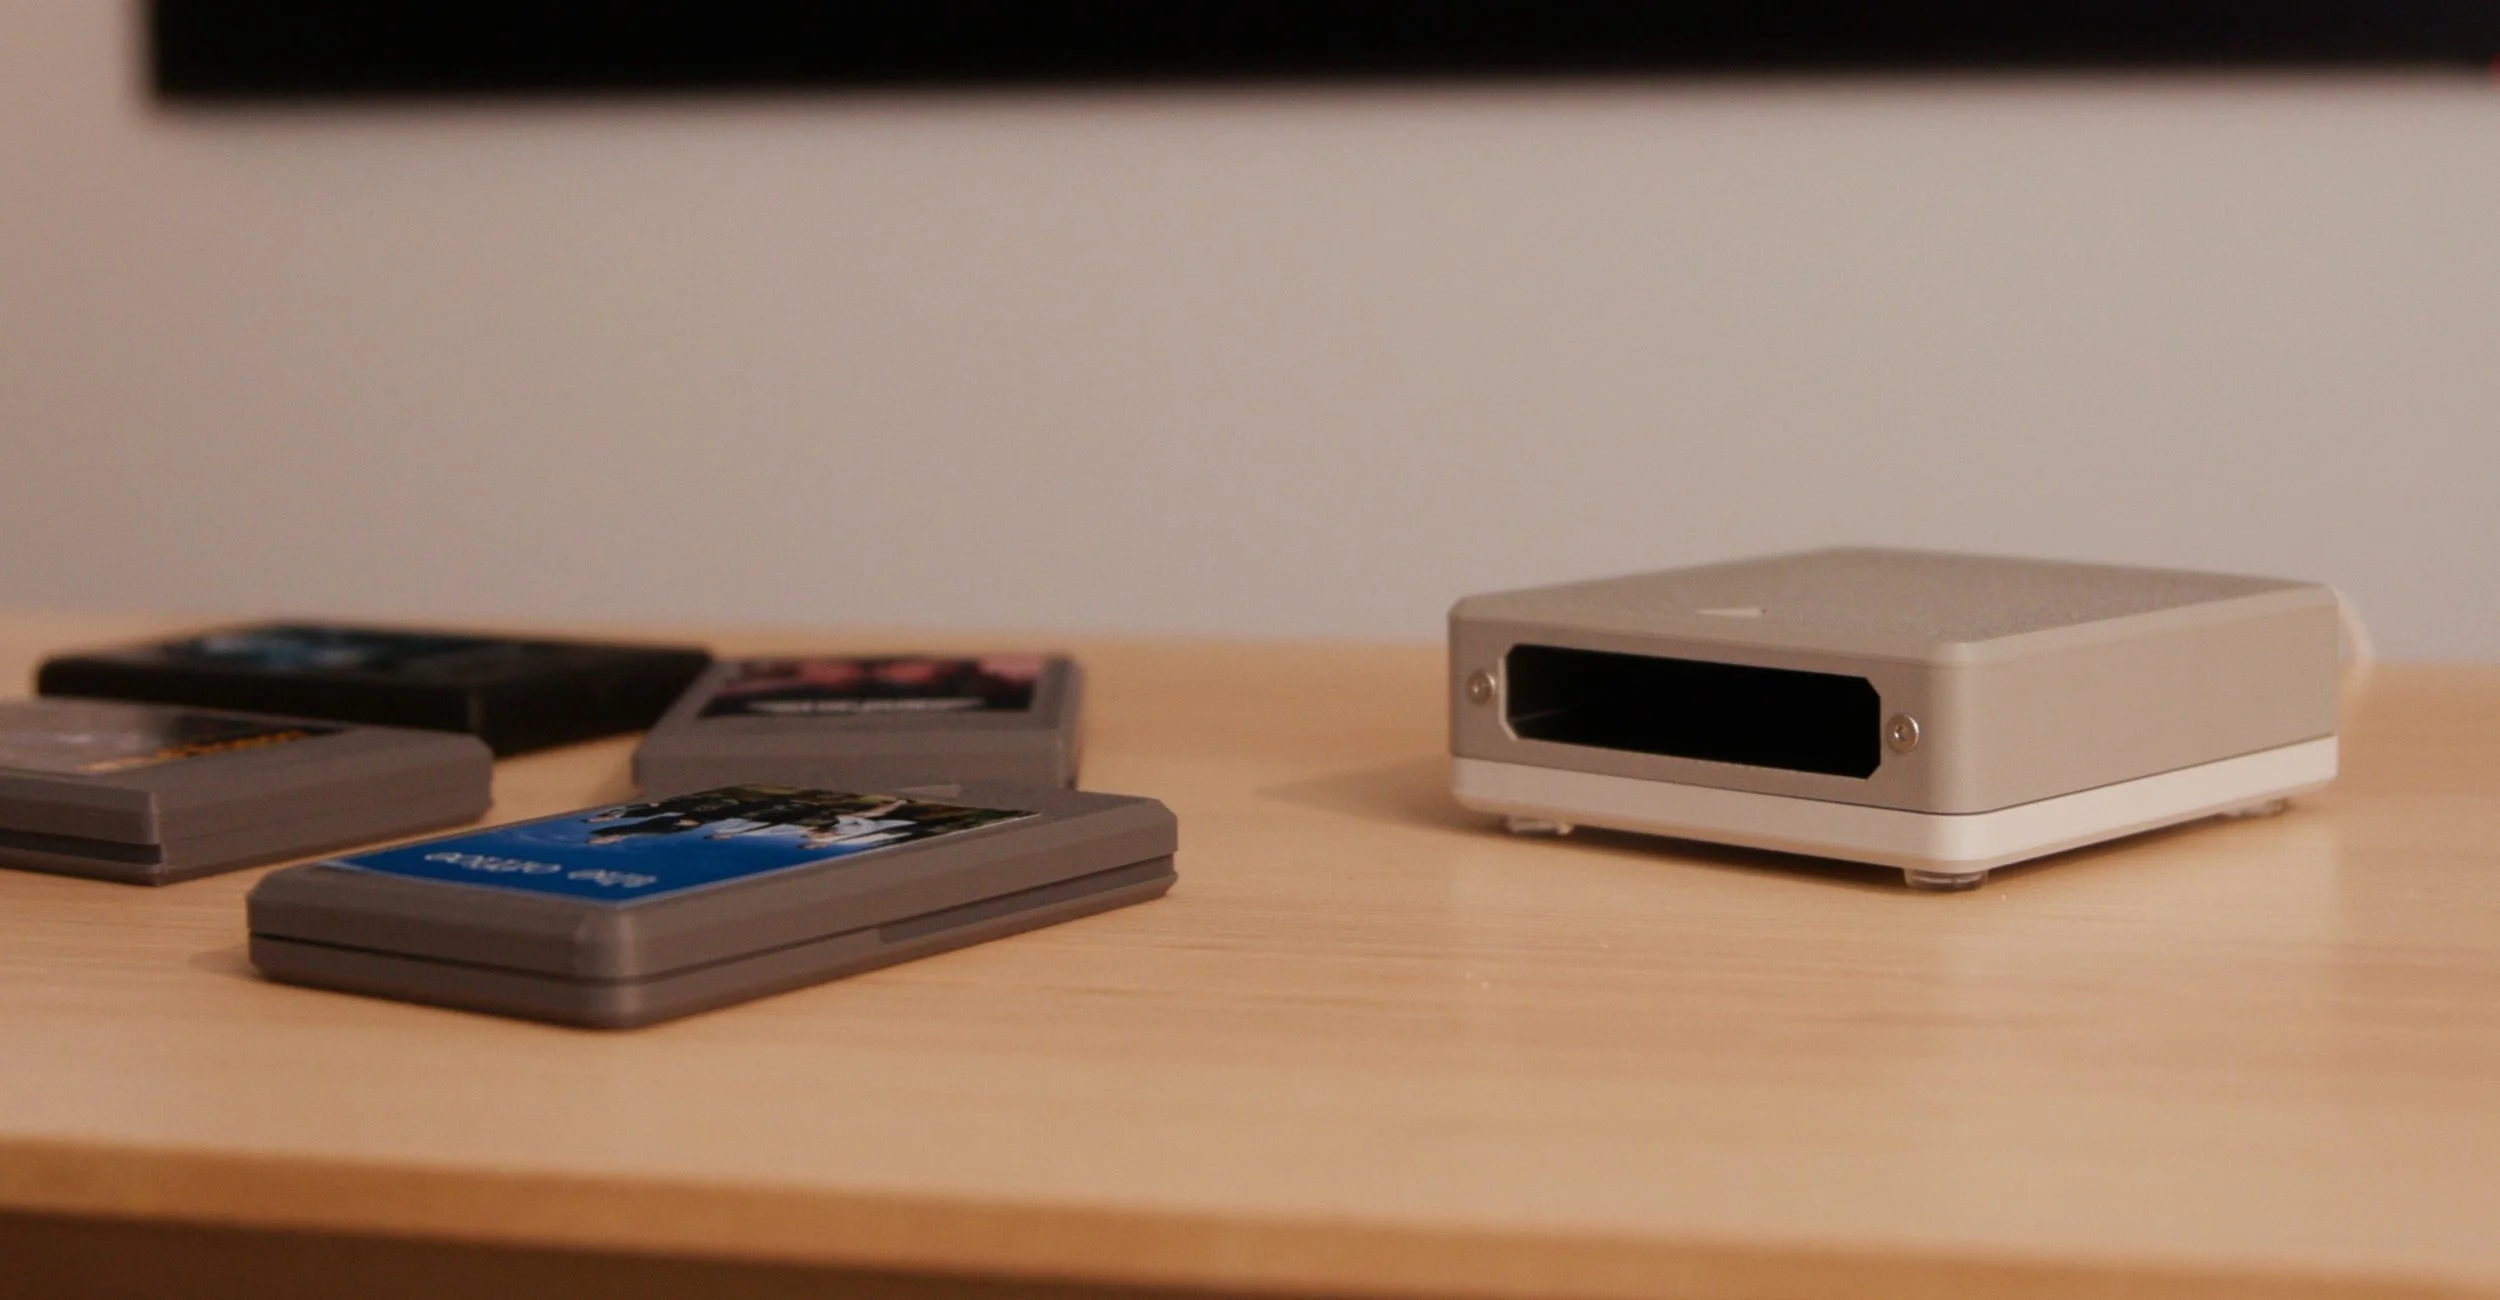
So I designed a system where physical cartridges trigger digital media using NFC. No tapes to rewind. No quality loss. Just a magical little moment when your TV lights up with the exact thing you wanted to watch.
How To Build Your Own
What You’ll Need
Electronics:
1 × ESP32-S3 Zero
1 × RC522 NFC reader module
1 × 25mm NFC sticker per cartridge
6 × 50mm lengths of hookup wire
1 × USB-C cable
Optional: 1 × Buzzer (for cartridge feedback)
Hardware:
2 × M3 countersunk machine screws (10mm)
4 × M3 cap head screws (9mm)
1 × piece of double-sided mounting tape
4 × rubber feet
Printed Parts:
Top and bottom housing for the player
Cartridge slot insert
Cartridges (printed in two halves)
All print files, templates, and sticker layouts are available on Printables and thestockpot.net, and you can also grab a complete kit from our site with all the electronics and hardware bundled.
Assembly
1. Wire Up the Electronics
Cut and strip your six wires to around 50mm.
Solder wires between the ESP32 and the RC522 module:
SDA → GPIO13
SCK → GPIO12
MOSI → GPIO11
MISO → GPIO10
3.3V → 3.3V
G → GND
Optional: solder a buzzer to GPIO2 and GND for feedback.

2. Assemble the Player
Stick the ESP32 into the lower enclosure using double-sided tape, aligning the USB-C port with the rear cutout.
Stick the buzzer (if used) into the bottom corner using additional tape.
Secure the NFC module in place using two M3 cap head screws.
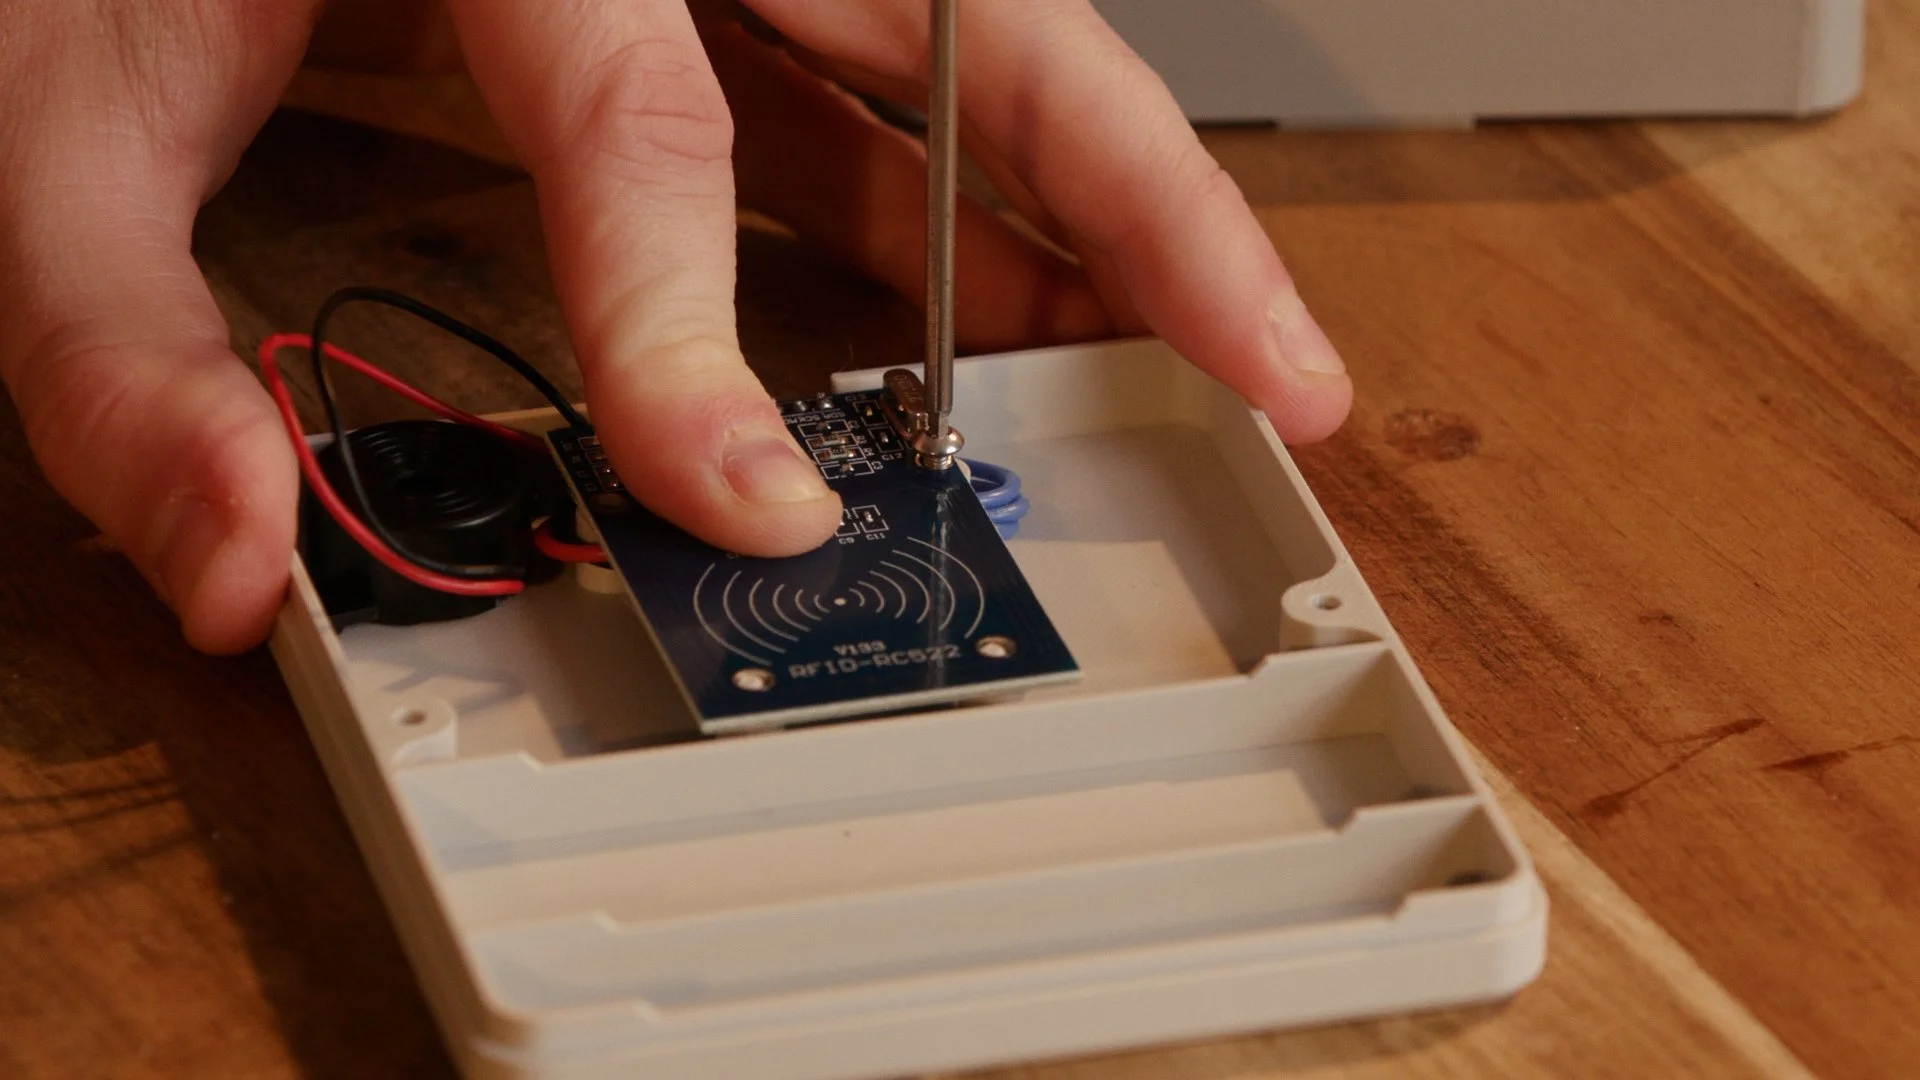
The NFC / RFID module mounts on top of the ESP32 module
Slide the cartridge pocket into the top half of the enclosure.
Secure it using two M3 countersunk screws from the front — it should be a snug fit.

Two M3 countersunk screws are used to attach the pocket to the inside of the top component
Align the top and bottom halves of the player and screw them together using the remaining four M3 cap head screws.
Add rubber feet to the base for grip
3. Assemble the Cartridges
Insert a 25mm NFC sticker into the cutout in the bottom half of each cartridge.
Snap the top half into place; this can be difficult. Depending on your filament, you may need to use a tool to help the clips into place.

Apply your custom sticker art for the final touch.

Tip: Use sticker paper or a plotter for perfect alignment — templates are available here
4. Flash the Firmware
Head to web.esphome.io
Click “Connect,” plug in your player, and install the prebuilt firmware from the blog post.
After installation, connect to the “Cartridge Player Hotspot” and enter the password
thestockpot.Follow the prompts to connect to your Wi-Fi.
The player will now appear in Home Assistant.
5. Create Your Automations
Your automations can complete whatever action you’d like based on the ID of the inserted cartridge.
Here’s an example of the complete automation YAML if you’d prefer that
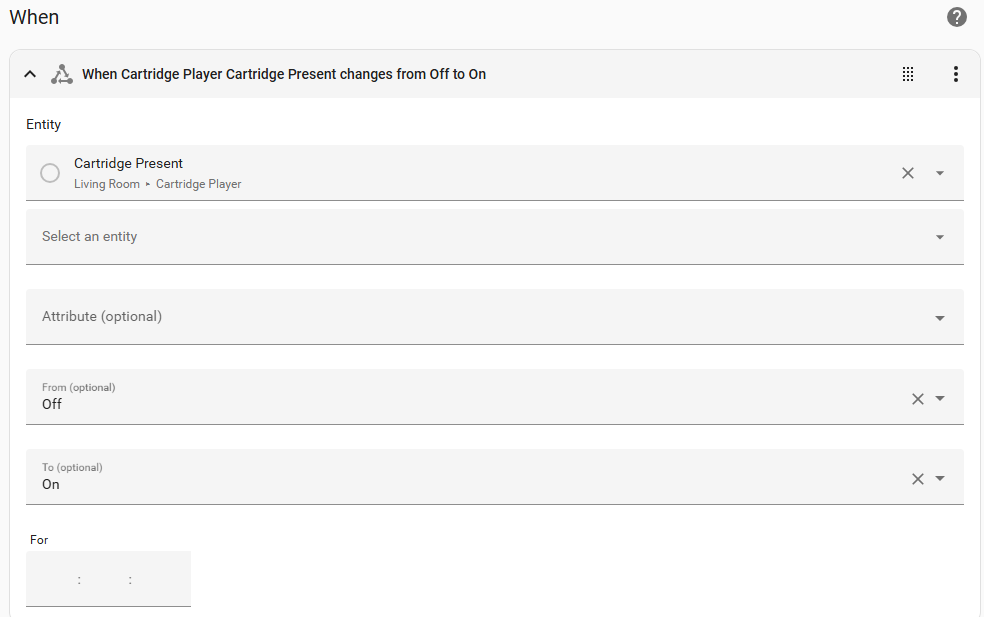
To accomplish this, I created an automation that’s triggered by the ‘Cartridge Present’ state changing from Off to On.
Then, I just used a ‘choose’ building block to choose between my Cartridge IDs, each with its own actions. I just copy the Cartridge ID from the device page and paste it in the State box for each choice.
The exact method for triggering playback isn’t covered here, as it differs based on your choice of media player. Below are some examples of the method I’m using.

Media Playback Examples
I’m using an Android TV device, and the Plex app to trigger playback.
The Android TV remote integration has some excellent documentation on launching apps and playing back media that I used to create my playback actions.
I’m using the Plex integration for Plex media. Unfortunately, the way Plex populates the ‘active players’, means that the player entity for each device is not available all the time. They need to be ‘woken up’ to become available in Home Assistant.
I’m still figuring out the best way to do this, but at the moment, I’ve found the best way to ‘wake’ the player is to launch the Plex app using the Android TV remote integration, then use the remote.send_command function to press ‘select’ twice (starts playback of most recent media), then ‘back’ to stop it again. This wakes the Plex media player entity, allowing media to be played to it.
If you find a better way to wake the player reliably, let me know!
Plex TV Shows
Plays a random episode of ‘Bluey’
entity_id: media_player.plex_player
media_content_type: EPISODE
media_content_id: '{ "library_name": "Kids TV", "show_name": "Bluey", "shuffle": "1" }'
Plays the next unwatched episode of ‘The Office’
entity_id: media_player.plex_player
media_content_type: EPISODE
media_content_id: '{ "library_name": "TV Shows", "show_name": "The Office (US)", "resume": 1, "maxresults": 1, "episode.unwatched": true }'
Plex Movie
Plays ‘Star Wars’
entity_id: media_player.plex_player
media_content_type: EPISODE
media_content_id: '{ "library_name": "Films", "title": "Star Wars"}'
YouTube Video / Playlist
Plays a YouTube playlist
action: media_player.play_media
data:
  media_content_type: url
  media_content_id: https://www.youtube.com/playlist?list=PL9Iupd27e1SQ9cu-dCzwLEf7dQztk8ti_
target:
  entity_id: media_player.living_room_tv